Happy Valentines Day! As one of my main loves in life is making things, I wanted to share a quick and simple DIY today that you can make for a loved one or yourself at any time of the year.
It’s also a great way of using up any large scraps of fabric you might have lying around.
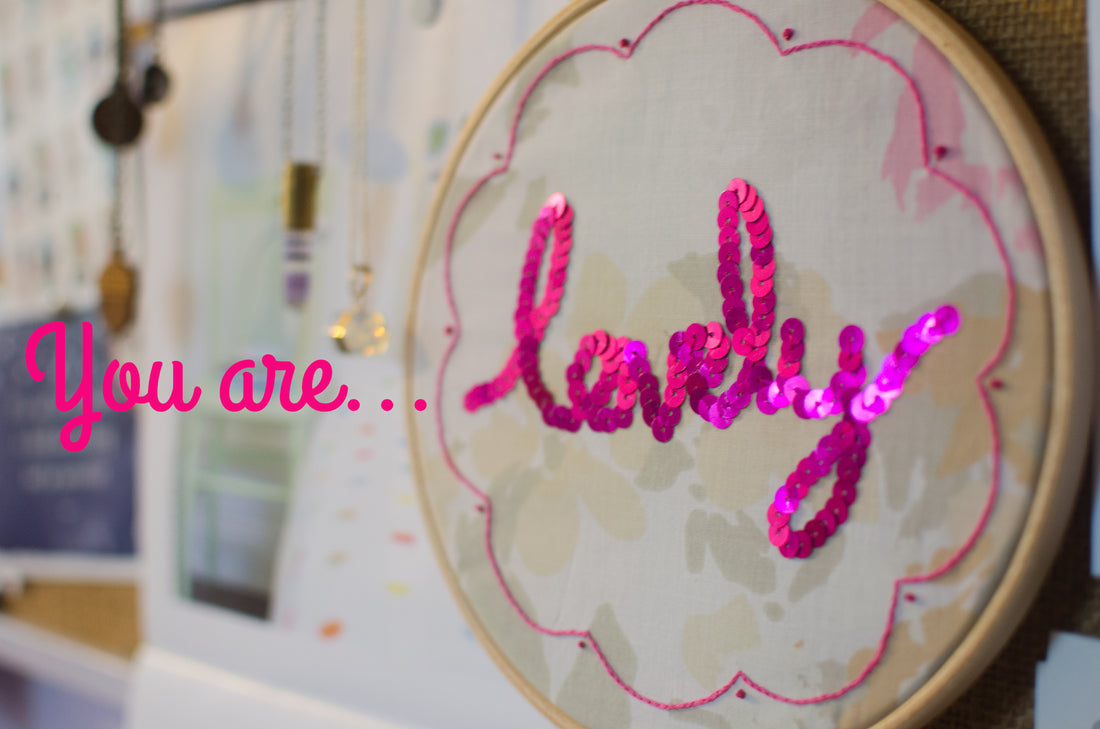
I’ve made a pattern which you can download here and use*, but feel free to have fun with it – you could write your own words or a name in the centre, or use your favourite colour for the threads, or one that matches your fabric.
I added a few french knots to my border, but if you have a favourite stitch go crazy with the decoration.

What you’ll need
- Pattern (download here)
- 7” embroidery hoop
- Fabric (at least 10” x 10”) – I used an old floral pillow case found in a charity shop
- Sequins
- Cotton thread (to match your sequin colour)
- Embroidery thread (to complement sequin colour)
- Backing fabric (at least 10” x 10”) – optional
Equipment
- Sewing needle
- Scissors
- Pencil
How to make it
1. Download and print out the pattern
2. Using a window with a little bit of daylight, hold the pattern up to the window and put your fabric on top (right side facing you). You can use masking tape to fix both there, allowing you to lightly draw over the pattern in pencil.

3. Put the fabric into the embroidery hoop. You will eventually display it in this, but for now it just makes it easier to stitch.

4. First we’ll sew the sequins on. Take a length of cotton thread and tie a few knots in one end. Starting at the beginning of the word, sew from the wrong side of the fabric out so you’re knot is on the back.
Thread your first sequin, sew over the sequin to the right, back up through the middle of the sequin and over again. Then sew up just to the right of the sequin this time and thread your next one.
This means they overlap by one half each time. Keep going all the way along until the lettering is covered.
You’ll probably have to rethread a few times. When you come to the end of a piece of thread, just tie off securely with a couple of knots and start again.

5. For the border, take a length of embroidery thread. Embroidery thread comes in 6 strands. You only need 3 for this pattern so split your thread in half. Place the other 3 aside for now, you can use them when the first lot runs out.
Tie a couple of knots in one end of the thread. From the wrong side out, sew along the scalloped lines of the border using chain stitch until you’ve completely covered them. Tie off securely.
At this point you can add any other embroidered decoration.

6. Now all that’s left to do is hang your hoop. If you want to give it as a gift and don’t want anyone to see your stitching on the back, you can cover it with a plain piece of fabric.
Once you’re happy with the positioning of your stitching in the hoop and you’ve applied any backing, make sure your hoop is screwed up tight and then cut away any excess fabric. Attach string or ribbon to the screw and hang on a nail or picture hook to display.

Let me know if you have any questions, and I’d love to see your pictures if you make one yourself.
* This pattern is for personal use only, please do not use for commercial purposes.